The Tension and Release Arc
A high-impact structural formula built on prolonged harmonic suspension, high-frequency density buildup, and sudden rhythmic payoffs.
- Ideal Slot: Peak Time / 01:30–03:00
- Harmonic Step: +1 Semi / Relative Minor Pivot
- BPM Window: 126 → 131 BPM (+5)
- Tension Index: 9.4 / 10
Pressure Accumulation Mechanics
Understanding how to stretch dancefloor patience before delivering undeniable sonic relief.
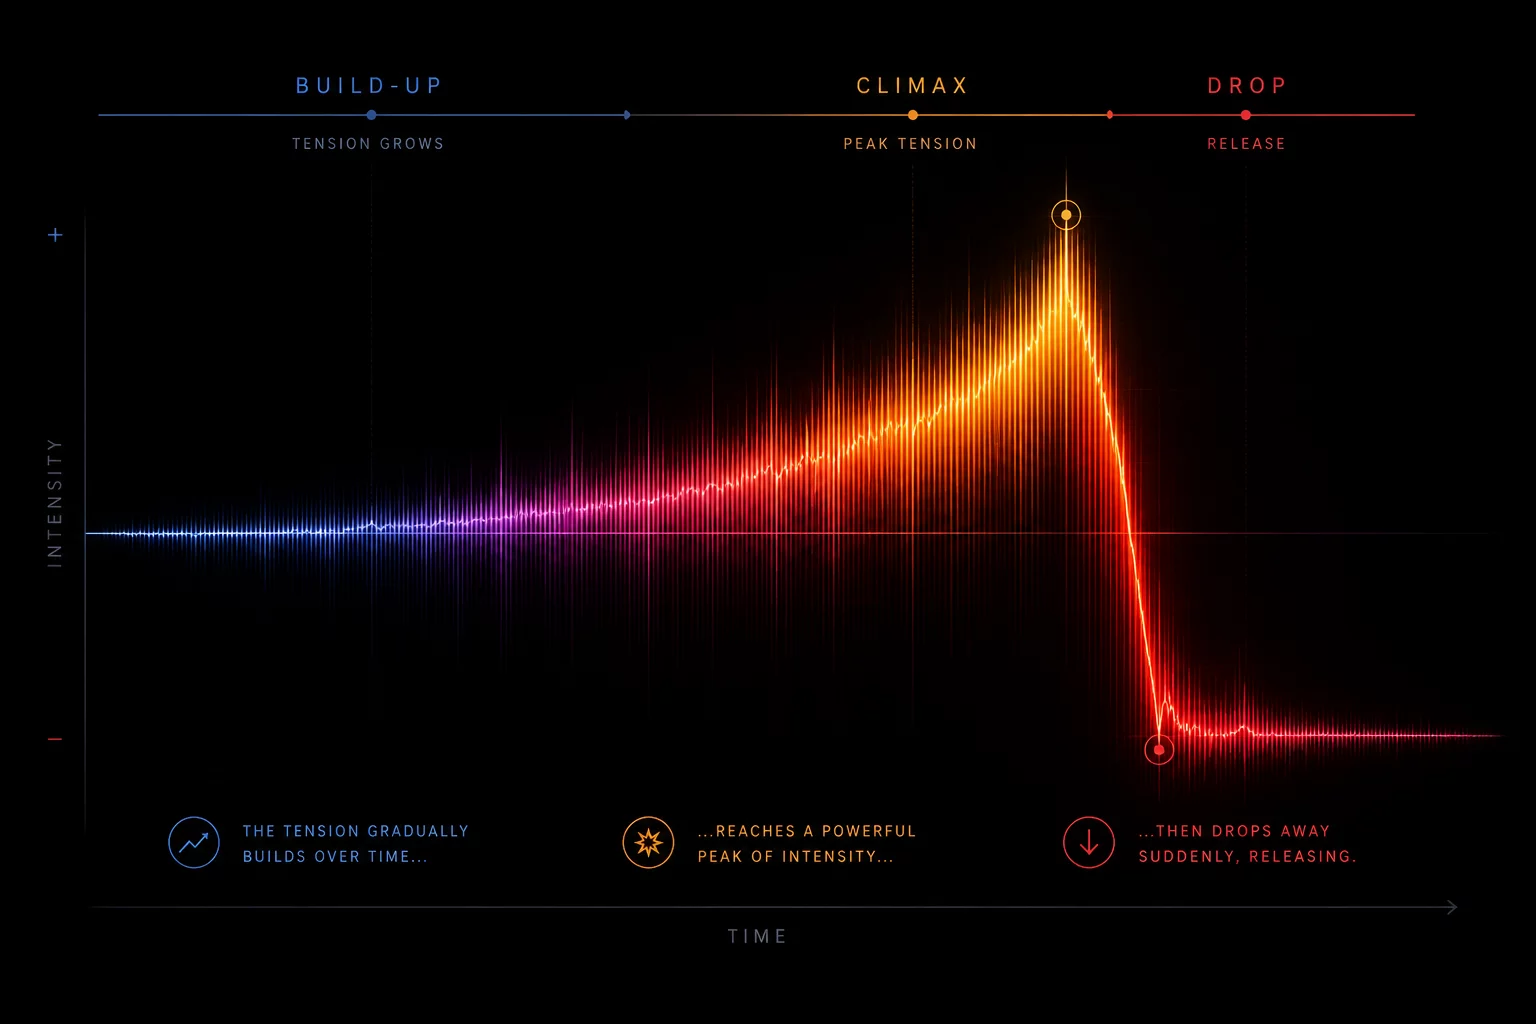
The Tension and Release Arc operates on sensory withholding. By gradually filtering fundamental frequencies, introducing ascending synth lines, and elongating rhythmic loops beyond standard 16-bar intervals, the selector creates a tangible pressure in the venue. The audience anticipates resolution, which amplifies the perceived impact of the eventual bass drop.
Executing this arc requires disciplined control over mixer equalizers and external send effects. Over-saturating the build phase with white noise sweeps or excessive snare rolls leads to predictable fatigue. Instead, focus on harmonic friction—layering polyrhythms and clashing semi-tones that demand physical resolution on the dancefloor.
Tension is not noise; tension is the deliberate delay of the inevitable kick drum.
Structural Phase Parameters
A quantitative staging breakdown across all four progression zones.
| Parameter Phase | Energy Level | Transition Mode | Recommended Track Type |
|---|---|---|---|
| Phase 01: Inception | Base (60%) | Extended EQ Layering (64 Bars) | Hypnotic Groove / Rolling Percussion |
| Phase 02: Ascent & Withholding | Rising (80%) | High-Pass Filter Sweep + Loop Halving | Dissonant Lead / Rhythmic Stabs |
| Phase 03: The Release Drop | Peak (100%) | Instant Cut on Beat 1 (Zero Overlap) | Heavy Sub Bassline / Raw Kick Impact |
| Phase 04: Floor Sustained Groove | High-Sustain (85%) | Harmonic Stem Bleed (32 Bars) | Driving Modular Techno / Acid Bass |
Crucial execution note: Never execute Phase 03 prematurely. Allow the mid-frequency buildup to hover at peak pressure for at least 8 full bars past the expected breakdown point to maximize explosive floor response.
Harmonic Shifts & Mixer Technique
Practical mixer routing, EQ staging, and phrasing guidelines for flawless execution.
Removing low-end energy creates psychological headroom. When the bass is pulled, the audience subconsciously leans in toward mid-range and percussive details.
- Engage a 24dB/octave high-pass filter at 120Hz exactly 16 bars before the target drop.
- Compensate for acoustic perceived loudness by raising mid-band gain by +1.5dB on the outgoing track.
Utilize Camelot wheel shifts (+1 or -1 key step) during the build to generate tonal tension that resolves cleanly once the new root note lands.
- Transition from 8A (A Minor) into 9A (E Minor) or 7A (D Minor) to inject tonal lift.
- Use delay dub-outs with 3/4 time signature to dissolve chord trails right before kick slam.
The release moment requires absolute transient clarity. Any low-end mud will instantly collapse the perceived power of the new track.
- Kill channel 1 cue and fader simultaneously on the downbeat of bar 1.
- Ensure channel 2 gain structure leaves 3dB of headroom to avoid digital master clipping at drop impact.
Related Set Arcs
Complementary structural pathways to expand your performance blueprint repertoire.
Set Arc Discussion
Observations, floor reactions, and acoustic calibration feedback from active DJs in the field.
No field observations recorded yet. Be the first architect to submit set dynamics.